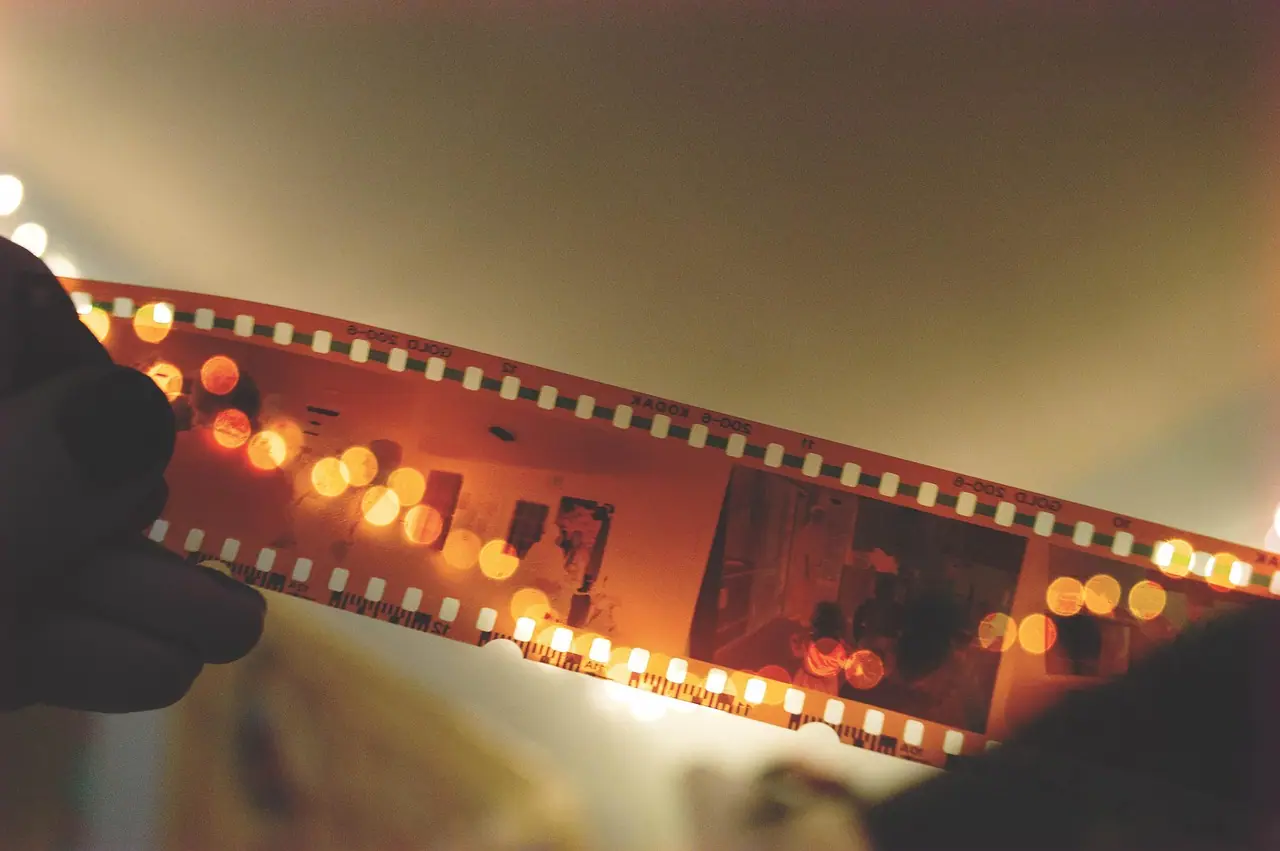
Why order matters more than software
Teams argue about editing software. They should argue about workflow. Any professional editing tool can produce excellent work; what wastes time and money is doing things in the wrong order. Colour grading a scene that is later cut, mixing sound before the structure is final, or building graphics for a version nobody approved are the classic sources of rework.
The governing principle is the same as in the wider video production process: settle the big decisions first, then refine. Structure before detail. Picture lock before finishing.
Fig. 01 · Process
Tap to explore
The editing workflow in order
Step 1: ingest and back up
Before anyone watches a frame, copy the footage from the camera cards to storage, verify that the copy is complete, and make a second copy on a separate device or service. Footage is the one thing in a production that usually cannot be recreated. Losing it means a reshoot.
Use copy software that verifies files rather than dragging folders, and do not format camera cards until backups are confirmed. Record what was ingested, from which card, and where it now lives.
Step 2: organise before editing
Time spent organising footage is repaid many times in the edit and again, years later, when someone wants to reuse it. A consistent folder structure and naming convention across all projects lets any editor open any project and find what they need.
Fig. 02 · Stack
Tap to explore
A project folder structure
01_Admin
Brief, script, storyboard, releases, licences
02_Footage
Raw camera files by day and camera, never renamed after ingest
03_Audio
Separate sound recordings, music, voice-over, effects
04_Graphics
Logos, templates, motion graphics, stills
05_Project
Edit project files and auto-saves
06_Exports
Review cuts and finals, versioned and dated
Then prepare the footage: sync separately recorded sound, generate transcripts of interviews (AI transcription is a real time-saver here; see AI in video production), and mark selects, the best takes and usable moments. For interview-led films, a paper edit built from transcripts is often the fastest route to a strong structure.
Steps 3 and 4: rough cut to fine cut
The rough cut is about story. Put the material in order, get the message across, and ignore polish. It should be longer than the final, with rough transitions and no colour work. Its purpose is to answer one question: does the structure work?
Resist the urge to polish early. A beautifully graded, perfectly mixed rough cut makes reviewers comment on the polish rather than the structure, and every hour spent finishing a scene that is later cut is lost.
The fine cut is about rhythm. Trim each shot to its best moment, tighten pauses, add B-roll and cutaways, lay temporary music and graphics placeholders, and bring the length to target. Each stage needs a different kind of feedback from reviewers.
Compare scenarios
What to review at each cut
Is the story right?
- Does the one message land?
- Is anything missing or in the wrong order?
- Are the right people and moments in it?
- Ignore colour, sound polish and graphics
Is the rhythm right?
- Does pacing hold attention?
- Are the facts, names and claims accurate?
- Is the length on target for each placement?
- Are temporary music and graphics in the right direction?
Is everything correct?
- Spelling in graphics and captions
- Audio levels and clarity
- Colour consistency between shots
- Legal lines, logos and end card
Giving feedback editors can use
Feedback is where edits go fastest or slowest, and most delay comes from feedback that is vague, contradictory or late. A few habits make every round shorter.
- Use timecodes. ‘At 0:42, the product appears before we have explained the problem’ is actionable. ‘The middle feels slow’ is a starting point for a conversation, not an instruction.
- Describe the problem, not the solution. Editors often find a better fix than the one a reviewer imagines.
- Consolidate. One document per round, with internal disagreements resolved before it reaches the editor.
- Separate must-fix from preference. Factual errors and legal issues are must-fix; taste is negotiable.
- Respect the round. Notes added after a round has closed belong in the next round, with its cost.
Online review tools that let reviewers leave comments pinned to exact frames make this far easier than email threads. Whatever tool you use, keep one source of truth for feedback and version numbers on every review export, so nobody comments on an out-of-date cut.
Working across teams and agencies
Many brands now edit across several hands: an agency for hero work, an in-house editor for social, freelancers for peaks. Without shared standards, every handover costs time. Agree the folder structure, naming, caption style, brand templates and export presets once, and require every partner to use them. It is the editing equivalent of brand guidelines, and it saves time on every project that follows.
Step 5: picture lock
Picture lock is a formal sign-off that the structure and timing will not change. It is the most important gate in the workflow, because sound mixing, colour grading, graphics and captions are all built to the locked timeline. Changes after lock ripple through every finishing department and cost time in each.
Step 6: finishing
- Sound. Clean dialogue, balance voice, music and effects, and mix to the loudness each platform expects. See sound and music in brand video.
- Colour. Correct shots to match each other, then grade for the intended look. Use the colour reference shot from the shoot.
- Graphics. Final titles, lower thirds, callouts and end cards, using brand templates. See motion graphics.
- Captions. Generate, correct and time captions; burn in for social versions where needed and export caption files for platforms that support them. See video captions and accessibility.
A note on colour and sound order
Sound and colour can run in parallel once picture is locked, because neither changes the timeline. Graphics usually come after a first colour pass, so that designers see the final look of the footage beneath their work. Captions should be produced last, from the final mix, so that every word matches what viewers hear. Doing captions earlier invites mismatches whenever a line is re-recorded or trimmed.
Step 7: versions, checks, delivery and archive
Create every version listed in the brief from the finished master: aspect ratios, lengths, captioned and clean versions, language versions. Then run a quality check on each before delivery. Finally, archive the project so it can be reopened: project files, media, graphics, music licences and final exports, in the standard folder structure.
Checklist
0/10Pre-delivery quality check
A disciplined workflow is also what makes content repurposing cheap. Well-organised, well-labelled footage is the raw material for every future cut-down, and it is only reusable if someone can find it.
Key takeaways
- 01Workflow order matters more than software choice; structure before detail, picture lock before finishing.
- 02Back up and verify footage before anything else, because it usually cannot be recreated.
- 03Use one folder structure and naming convention on every project so footage can be found and reused.
- 04Ask for story feedback at rough cut, rhythm feedback at fine cut and correctness at finished cut.
- 05Make picture lock a formal sign-off and archive every project completely after delivery.
Frequently asked
- What is a video editing workflow?
- It is the ordered sequence of steps used to turn raw footage into finished video: ingest and backup, organising footage, assembly and rough cut, fine cut, picture lock, finishing with sound, colour, graphics and captions, then versions, quality checks, delivery and archive.
- What is the difference between a rough cut and a fine cut?
- A rough cut establishes story and structure, with little polish and often extra length. A fine cut refines rhythm and pacing, trims shots, adds B-roll and temporary music, and brings the length to target. Each needs a different kind of feedback.
- What does picture lock mean?
- Picture lock is the point at which the edit’s structure and timing are approved and frozen. Sound mixing, colour grading, graphics and captions are then built to that timeline. Changes after lock cause rework in every finishing step.
- How should I organise video files?
- Use the same folder structure on every project, separating admin documents, raw footage, audio, graphics, project files and exports. Keep original camera file names, label by shoot day and camera, and record licences alongside the files.
- How do you back up video footage?
- Copy footage from camera cards with software that verifies the copy, keep at least two copies on separate devices or services, and do not reuse cards until backups are confirmed. Archive final projects with their media and licences after delivery.
Published by Fabulous.Media, a network of specialist marketing agencies. Updated 9 October 2026. Platform features change often; check current official documentation before acting on platform-specific detail.